Tag

Parenting

Browsing

Lumberjack Themed Birthday Party !!

I can’t believe that we just celebrated Abel’s first birthday just a couple weeks ago! The month of December was extremely busy for our family. Not only did we have to think about Christmas Eve, Christmas, and New Years, we also had to think about Abel’s first birthday!

If you’re wondering, Abel was born on his due date of December 27, 2014. Knowing that our guests would  have christmas parties to attend, we sent out invitations, and when I say sent out invitations, I mean made a Facebook event, in early October. We wanted it to be special, so we went all out. We rented a room in a community centre, invited up to 70 guests, did a bunch of DIY and even made all the goody bags.

We decided on a  “Lumberjack theme” and asked all our guests to wear a Plaid button up. It was so much fun seeing everyone participate in the theme and it was great to see all their smiling faces using our homemade backdrop and props!

We couldn’t have been more thrilled with the end result. Overall, our day was spent laughing, smiling, and making crazy memories for our little boy! It took us two and a half months to plan Abel’s First Birthday Party, so I wanted to share a little of our day with all of you (scroll down to meet the shops)!

Lumberjack theme party, Lumberjack first birthday party, Lumberjack Bash, Lumberjack

Lumberjack theme party, Lumberjack first birthday party, Lumberjack Bash, Lumberjack

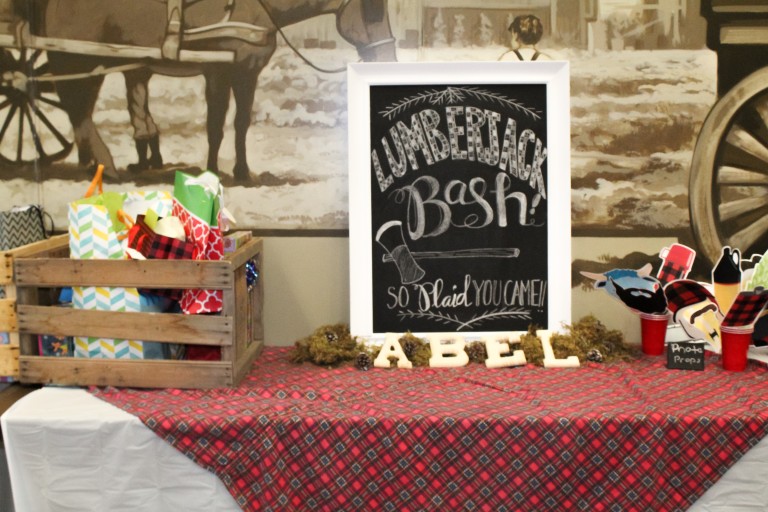
This chalk frame was a DIY project by a very good friend of mine. The frame was thrifted, and with a little TLC she was able to add the Chalk paint. She also wrote/drew on this beautiful message for us that I sourced from Pinterest. Thank you Kristen !
Lumberjack theme party, Lumberjack first birthday party, Lumberjack Bash, Lumberjack

Lumberjack theme party, Lumberjack first birthday party, Lumberjack Bash, Lumberjack

Lumberjack theme party, Lumberjack first birthday party, Lumberjack Bash, Lumberjack

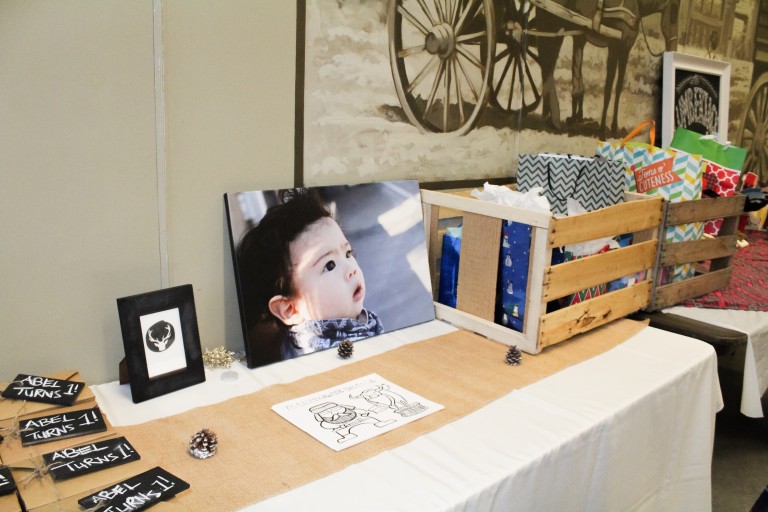
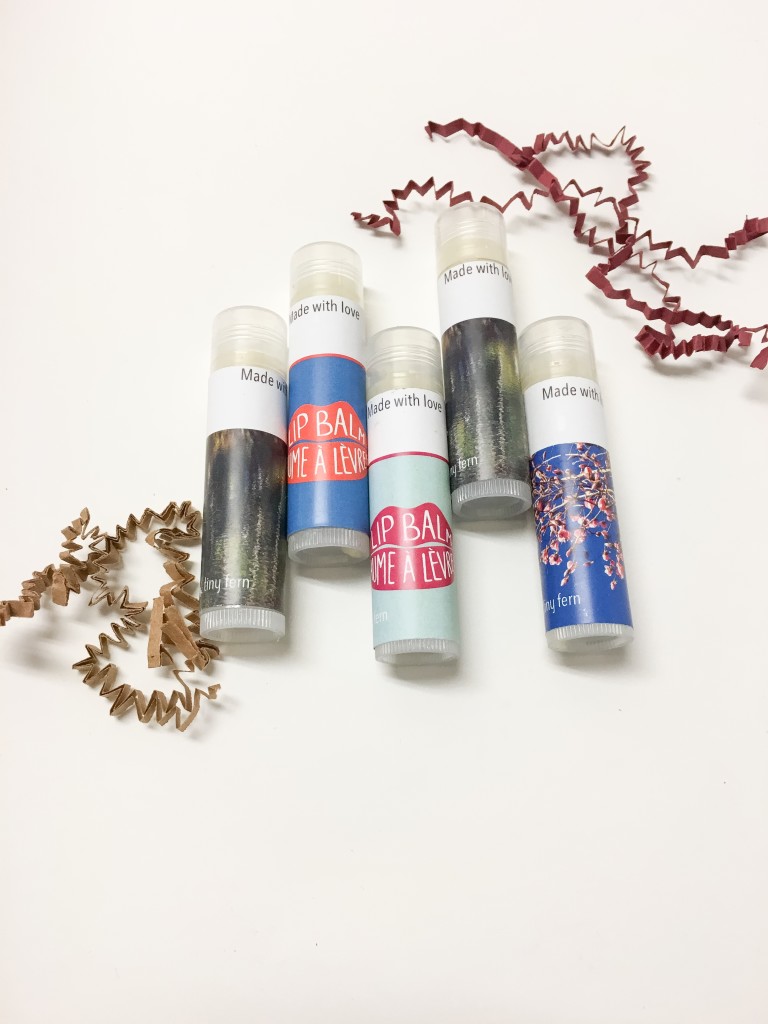
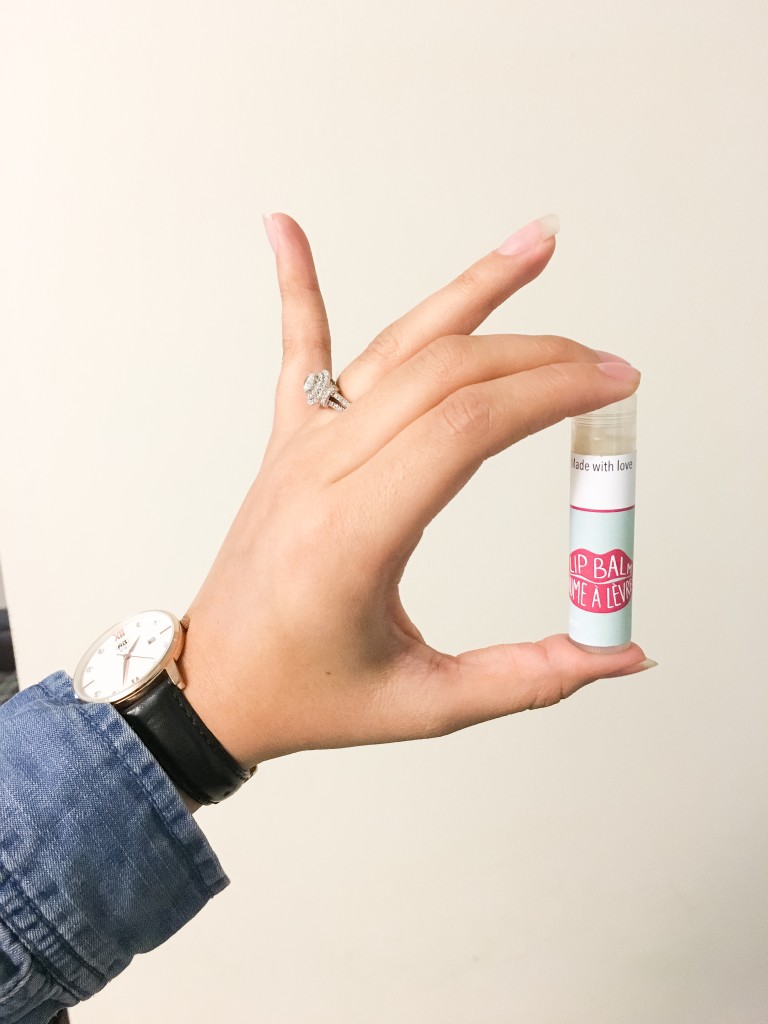
Loved how our goody bags turned out! All the boxes had all the ingredients needed to make smore’s, Graham crackers, chocolate, and marshmallows! We even included a Hot Chocolate pack just for kicks!

Lumberjack theme party, Lumberjack first birthday party, Lumberjack Bash, Lumberjack

Lumberjack theme party, Lumberjack first birthday party, Lumberjack Bash, Lumberjack

Lumberjack theme party, Lumberjack first birthday party, Lumberjack Bash, Lumberjack

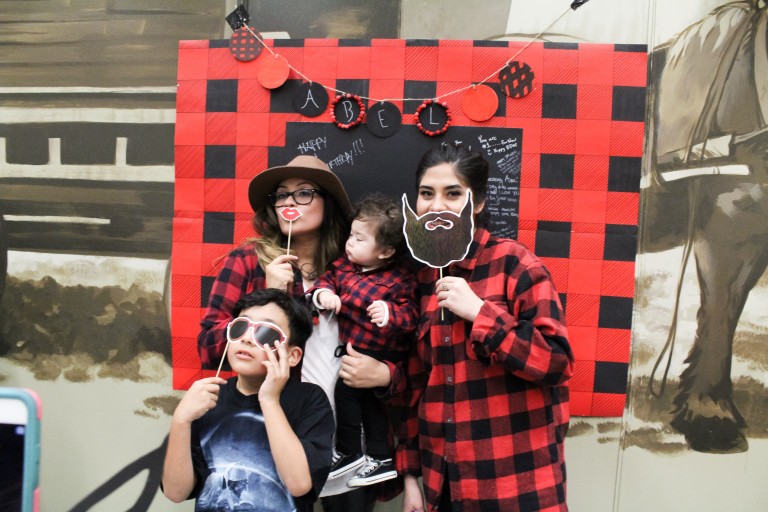
Using four pieces of red poster board, one piece of black poster board, black paint, a black sharpie, a ruler, and little bit of determination, Miguel built this incredible red & black plaid backdrop!

Lumberjack theme party, Lumberjack first birthday party, Lumberjack Bash, Lumberjack

Lumberjack theme party, Lumberjack first birthday party, Lumberjack Bash, Lumberjack

Lumberjack theme party, Lumberjack first birthday party, Lumberjack Bash, Lumberjack

SHOPS INCLUDED:

“Into the woods” party box by Heather & Gem

(2) Ivory, white or cafe tablecloths

(3) 10-12″ cedar rounds

(1) Glass or White cake stand

(2) Burlap table runners
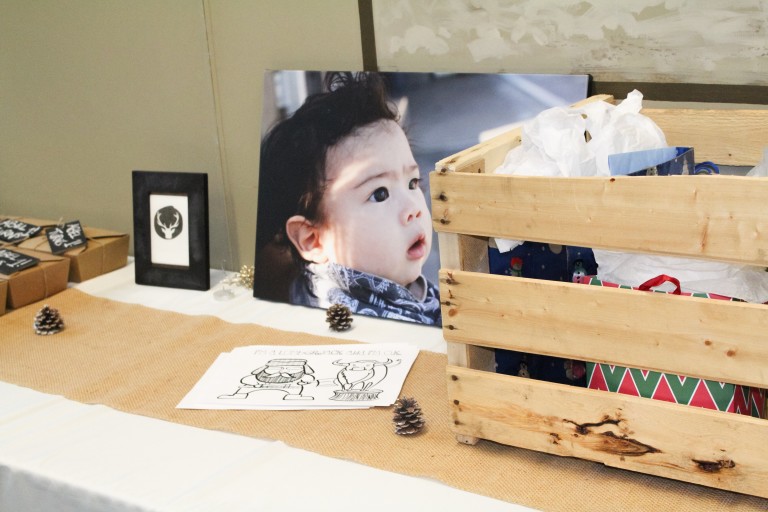
(2) Wooden crates

(1) Bag of moss

(1) Mylar Number Balloon (40″, variety of colours, uninflated)

(2) Giant Round Balloons (36″, your choice in colour, uninflated)

(1) Mason Jar Drink Dispenser

(16) Party Plates (your choice in available design)

(16) Party Cups (your choice in available design)

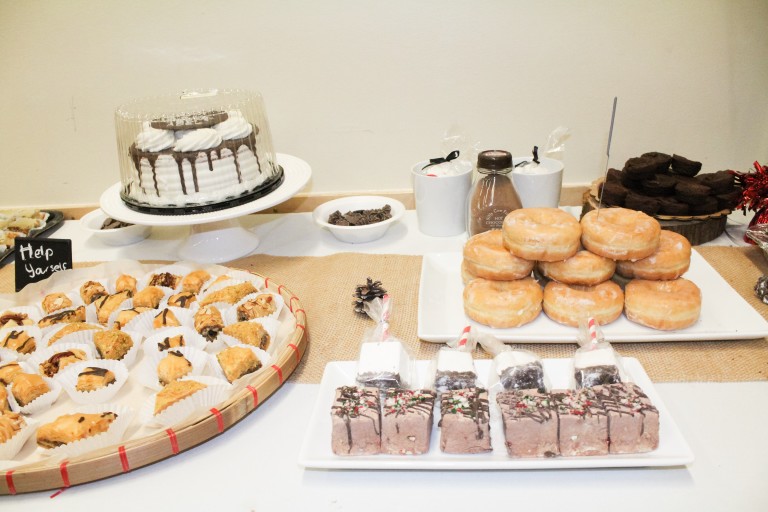
Holiday Mint Chocolate Marshmallows & Hot Chocolate by Marshandmallow

Canvas Print by Canvas Pop

Reindeer Print by Kardz Kouture

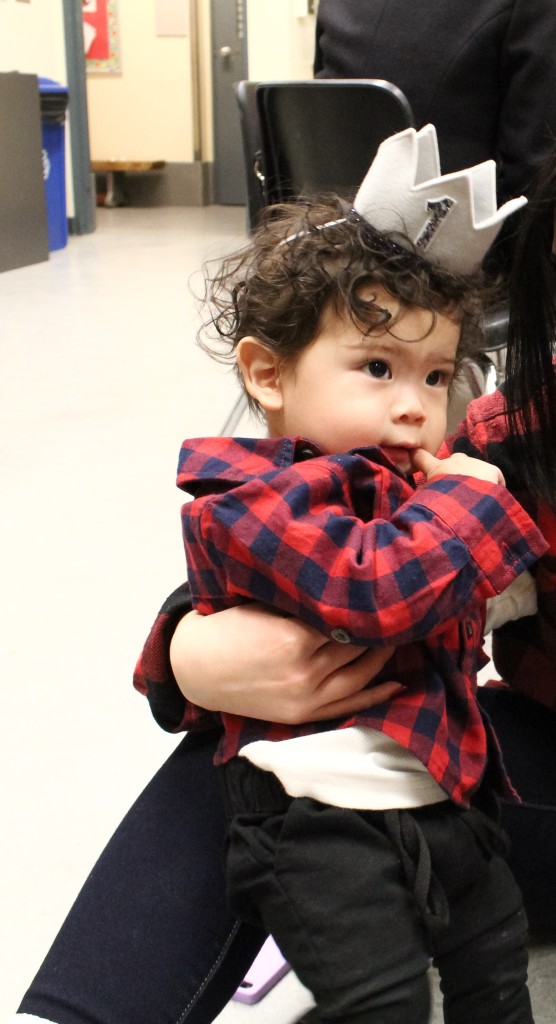
Birthday Crown by Presh Toast

Photo props by Paper Built Shop

I highly recommend all the shops involved to all of you! They make party planning so much easier!

xoxo,

HEYDY

DIY Lip Balm w/ Tiny Fern

Last month, I had the pleasure of meeting Master Crafter, Meghan Maclean, at a local pop-up shop. She was selling DIY Body Butter and DIY Lip Balm kits. Being a do-it-yourselfer, I instantly thought it was perfect! Everything I needed to make Lip Balm or Body Butter in a kitDo you know what this means? It means you don’t have to go out and buy all the ingredients individually and then you don’t have a huge amount of ingredients left to store away after your done! I don’t know about you, but that sounds pretty amazing for a busy mom like me!
Later that same week, I heard Meghan was hosting a “Make your own Bath Bomb” workshop in honour of her welcoming Tiny Fern to the world ! I immediately signed up Jayden and I. Under Meghan’s guidance, we both made our own signature bath bombs to take home! Being the ultra cool human that she is, Meghan generously gifted me one of her DIY Lip Balm Kits to try out at home with Jayden.

Tiny Fern’s Make Your Own Lip Balm Kits include:

  • Beeswax
  • Cocoa butter
  • Shea butter
  • Coconut oil
  • Apricot kernel oil
  • Essential oils

Other items that are included:

  • Set of instructions (typed below for your ease of reference)
  • 6 empty lip balm containers
  • Stir stick
  • Bamboo spatula
  • Dropper

The Tiny Fern Lip Balm kit includes everything needed to make 6 lip balms using natural ingredients. Each kit contains three different essential oils so that you can create your own unique lip balm. The essential oils that are included are peppermint, sweet orange and lemongrass. A selection of customizable labels make the final product completely your own.

After a very hectic holiday, we finally entertained the do-it-yourselfer within us ! As a treat to you lovelies, I typed up her instructions for a better idea of how easy it is to make your own lip balm with her kits!
STEP 1 
Lay newspaper out next to the stove, where you will be pouring the mixture into the lip balm tubes. Remove the lids from the tubes and twist the bases to move the little inner part as far down as it will go (about 2/3 of overall tube length). Place the containers on the newspaper, very close together.
STEP 2
Fill the pot with 1 inch of water. Place the bowl into the pot so that the bottom of the bowl is sitting just above the water.
STEP 3 
Place the beeswax, cocoa butter, shea butter, apricot kernel oil and coconut oil in the bowl. Use the wooden spatula to scrape ingredients out of their containers. Place the pot on the stove and gradually heat the water until it is almost boiling. Stir the contents of the bowl constantly until melted.
DIY lip balm, how to make your own lip balm, Tiny Fern
STEP 4 
Remove the pot from heat, keeping the bowl over the hot water so that the mixture stays warm. Add 9 drops of the essential oil(s) of your choice and stir. Each vial of essential oil contains 9 drops, so if you’re combining olds reduce the amount of each oil so that you are using 9 drops in total.
DIY lip balm, how to make your own lip balm, Tiny Fern
STEP 5
Use the dropper to fill the containers. This must be done quickly since the mixture will start to harden as soon as it is removed from the heat.
DIY lip balm, Tiny fern, how to make your own lip balm
STEP 6 
Let the containers sit at room temperature for several hours until cooled and completely hardened before the lids on.
DIY lip balm, Tiny fern, how to make your own lip balm
STEP 7
Apply the labels of your choice. The ones with images look best when the white rectangle runs along the length of the tube. Customize the labels as you wish by adding drawings, the scent, your name or the name of the person who will receive them as a gift.
Heres how ours turned out !
DIY lip balm, Tiny fern, how to make your own lip balm
These DIY Lip Balm and Body Butter kits from Tiny Fern make great gifts for any age! Head over to Tiny Fern to purchase yours today!
xoxo,

HEYDY